|
Instruction to Install Kendal Solar Lamp
Important Instruction:
A. Please install the lamp in the place with much direct sunlight. B. Don't allow kids to play with it. C. Please stay away from the fire. D. Please keep the solar panels clean. E. When the switch is in on position, after the batteries are properly charged by sunlight, the assembled lamp will go off in a bright lighting condition, and will automatically turn on in a dark lighting condition. F. After keeping the switch in on position, put the solar panels of the lamp in direct sunlight for 3 hours before installation, to activate the solar rechargeable batteries for a better results. =========================== Please note that your solar lamp's appearance may not be exactly the same as the pictures in this instruction. However, the installation procedures are similar.
1. Instruction to Install Kendal Solar Wall Lamp 2. Instruction to Install Kendal Solar Pillar Lamp 3. Instruction to Install Kendal Solar Post Lamp
================================== 1.Instruction to Install Kendal Solar Wall Lamp
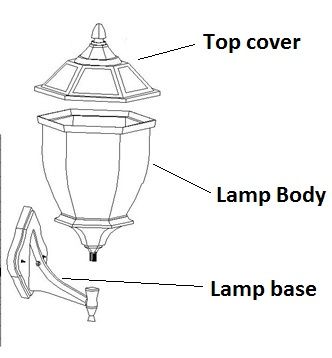
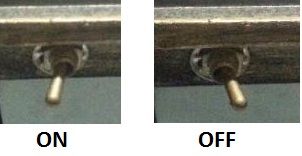
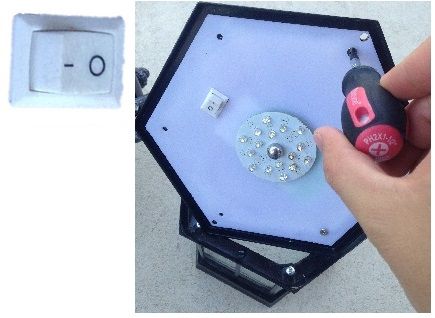
1. If the switch is not in the outside of the lamp, before installation, please loosen screws on the top cover and separate the top cover from the lamp body. Find the switch inside the top cover and keep the switch in on state.
2. After keeping the switch in on state, re-tighten the screws, and make the cover closely connected with the lamp body.
3. Install support base on the wall:
Picture 1
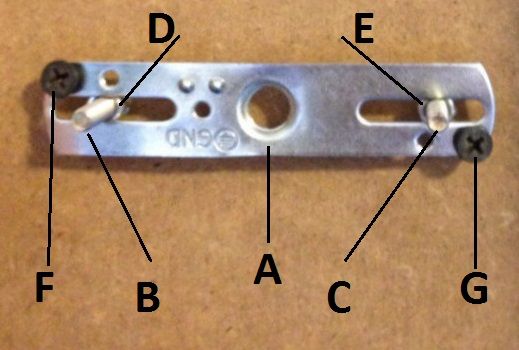
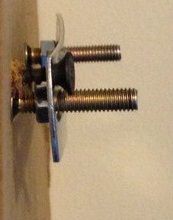
Put the two screw nuts D and E in proper positions so that in the later step, after B and C go through the two holes on the base, the two included black screw caps can have enough space to lock the support base securely. Picture 3 below shows the side view of the positions of D and E.
To make D and E in accurate positions, before you screw in F and G into wall, insert B and C into the support base and lock the base with the two included black screw caps. Turn the nuts D and E to make sure the metal chip A is securely attached to the base. Now you obtain the accurate positions of D and E. Then remove the base and you are able to decide the length of screws F and G. Please note that screws F and G are not included in the packages.
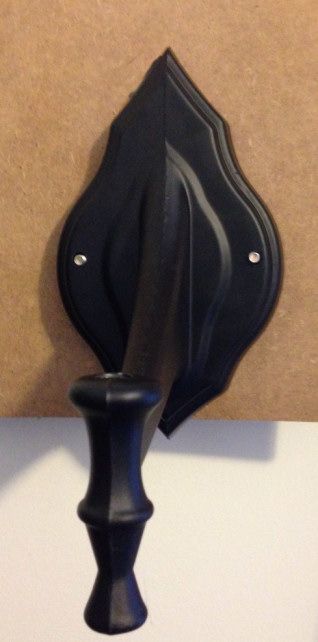
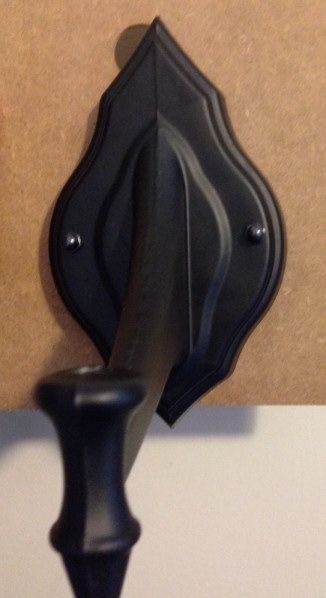
Drill two holes into the wall and screw in two screws (F and G) into the walls.
Picture 2
Picture 3
Picture 4
Picture 5
4. Screw in the lamp head into the base. The installation is completed. ============================================== 2. Instruction to Install Kendal Solar Pillar Lamp
1. If the switch is not in the outside of the lamp, before installation, please loosen screws on the top cover and separate the top cover from the lamp body. Find the switch inside the top cover and keep the switch in on state.
2. After keeping the switch in on state, re-tighten the screws, and make the cover closely connected with the lamp body.
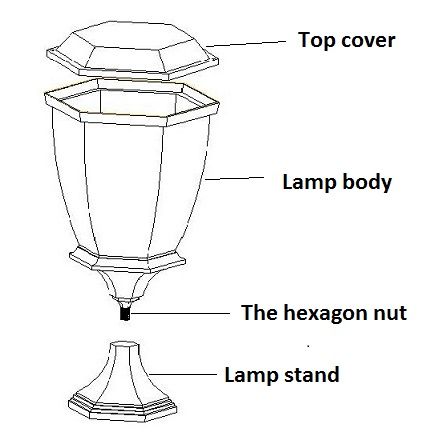
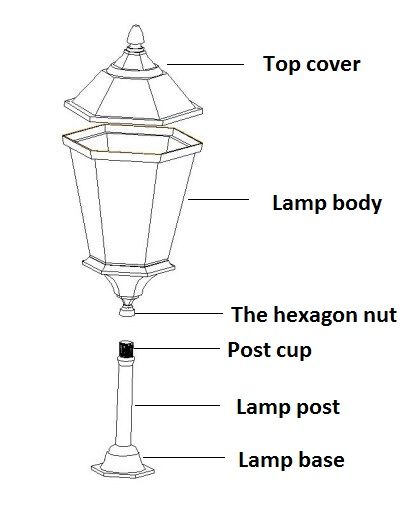
3. Remove the hexagon nut from the lamp body, screw the lamp stand into the threaded rod on the lamp body, make the stand connected with the lamp body, and use the included hexagon nut to lock base.
4. Drill two holes in the surface where the lamp is installed. Use two screws to fasten the stand to the surface. Please note that the screws are not included in the package. ===================================================== 3. Instruction to Install Kendal Solar Post Lamp
1. If the switch is not in the outside of the lamp, before installation, please loosen screws on the top cover and separate the top cover from the lamp body. Find the switch inside the top cover and keep the switch in on state.
2. After keeping the switch in on state, re-tighten the screws, and make the cover closely connected with the lamp body.
3. Remove the hexagon nut from the lamp body, screw in the lamp body into the post cup and use the nut to lock the connection. Finally, screw the post into the post cup.
4. Insert the base to the post and connect them with three included screws locked and fastened.
5. In the pre-installed location, drill three holes in the ground or concrete to align with the three corresponding holes in the base, screw 3 big threaded rods into the ground. Please note this package does not include the 3 big threaded rods. You can buy it in local store such as Home Depot. ========================================= Contact information:
New Shining Image LLC warrants this item for a period of 12 months from the date of the original purchase against defects in materials and workmanship. This warranty does not cover damage caused by misuse, negligence, improper use, disassembly or alteration by any person other than the technicians from New Shining Image LLC.
Should you have any questions with this item, please contact: service@shiningimageinc.com |
